The Ultimate Kitchen Hack for Perfect Bakes: Never Run Out of Buttermilk Again!
Picture this: You're halfway through your grandmother's famous fluffy pancake recipe or about to whip up some tender, flaky biscuits. All the dry ingredients are mixed, the eggs are cracked, and then it hits you – no buttermilk. That sudden sinking feeling, the dilemma of a last-minute dash to the grocery store, or worse, abandoning your baking dreams. Sound familiar? It's a common kitchen predicament, but what if we told you there's a simple, budget-friendly solution right in your pantry?
Welcome to the magic of the 2-ingredient buttermilk hack, an indispensable DIY Buttermilk in 5 Minutes: Simple 2-Ingredient Kitchen Solution that every home baker needs to know. This brilliant kitchen tip how to make buttermilk bypasses the need for store-bought cartons and delivers a perfect substitute every time. Not only is it incredibly convenient, but it also ensures your baked goods achieve that signature tang, rise, and tenderness you crave.
Why Buttermilk is a Baking Superpower (and How Our Hack Mimics It Perfectly)
Buttermilk isn't just another liquid ingredient; it's a secret weapon in the world of baking. Its unique properties are what transform ordinary flour and sugar into culinary masterpieces. But what exactly makes it so special?
The Science of Fluffiness and Tenderness: Originally, buttermilk was the slightly tart liquid byproduct left over after churning butter. Today's commercial buttermilk is typically made by adding lactic acid bacteria cultures to skim or low-fat milk, which ferments the milk, creating its characteristic tangy flavor and slightly thickened texture. But the true magic lies in its acidity.
When buttermilk's acid interacts with baking soda (a common leavening agent), it creates a chemical reaction that produces carbon dioxide gas. These tiny gas bubbles are what cause your pancakes to become impossibly light and fluffy, your biscuits to rise into airy layers, and your cakes to achieve an incredibly moist crumb. Without this acid-base reaction, baked goods can fall flat, become dense, or lack that desired lift.
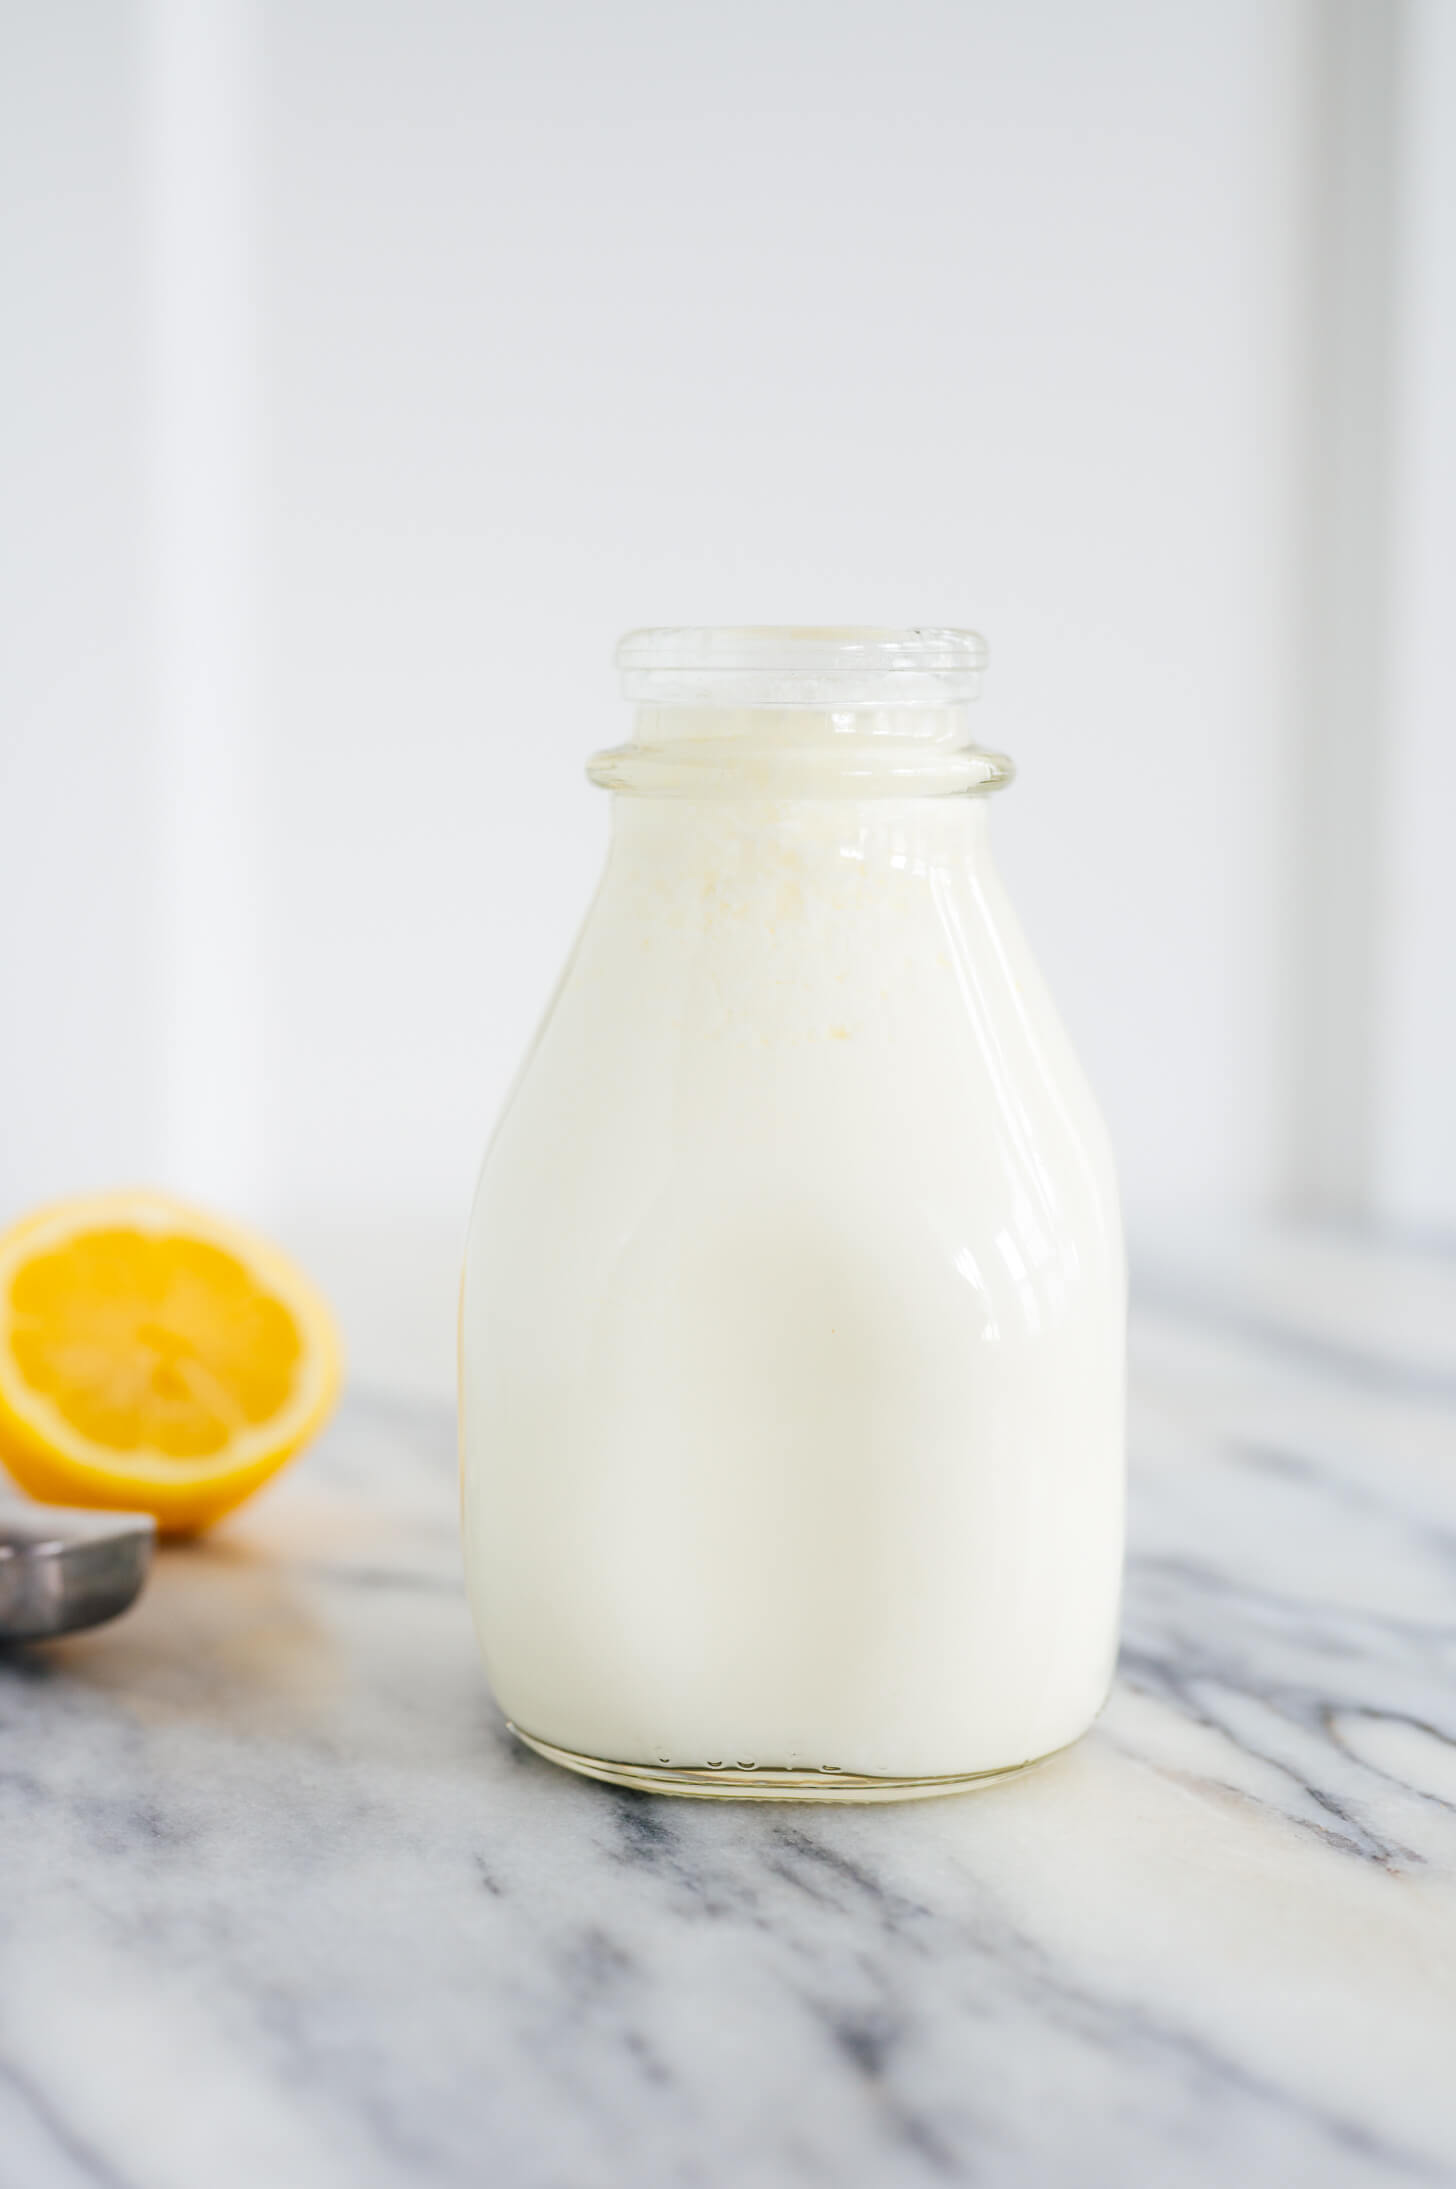
Our homemade buttermilk substitute perfectly replicates this crucial scientific interaction. By combining an acidic ingredient like lemon juice or vinegar with regular milk, you're essentially creating a quick cultured buttermilk, complete with the ideal pH level to react vigorously with baking soda. This means you get all the benefits of store-bought buttermilk without the last-minute fuss.
Unlocking the Value: The Irresistible Benefits of Your DIY Buttermilk
Beyond simply saving you a trip to the store, mastering this simple No Buttermilk? Transform Any Milk in Minutes for Baking Success brings a host of advantages to your kitchen:
- Unbeatable Cost-Effectiveness: How many times have you bought a large carton of buttermilk for a recipe that only calls for half a cup, only to have the rest spoil in your fridge? This hack eliminates waste entirely. You make exactly what you need, when you need it, saving you money on wasted ingredients and unnecessary grocery purchases.
- Peak Freshness and Control: When you make buttermilk at home, you're mixing it up moments before it's used. This ensures the acid is at its optimal potency, ready to create the most effective leavening reaction in your baked goods. You have complete control over the freshness and quality of your ingredients.
- Unparalleled Versatility: This isn't just a trick for dairy milk! The beauty of this kitchen tip how to make buttermilk is its adaptability. Whether you prefer whole milk, 2%, skim, or even plant-based alternatives like oat milk, soy milk, or almond milk, this method works beautifully across the board. This flexibility means dietary preferences or availability never stand in the way of your baking ambitions.
- Always Prepared: With this hack in your arsenal, you're never truly "out" of buttermilk. As long as you have milk and a common acid, you're ready to bake. It's the ultimate pantry staple extender.
- Subtle Flavor Customization: While white vinegar offers a neutral tang, fresh lemon juice introduces a delightful, subtle citrus note that can be particularly appealing in certain recipes like muffins, quick breads, or even some pancake recipes.
Your 5-Minute Guide: How to Make Buttermilk at Home
This DIY Buttermilk in 5 Minutes: Simple 2-Ingredient Kitchen Solution is so straightforward, you'll wonder why you ever bought it from the store!
What You'll Need:
- 1 cup Milk: Any type will work – whole, 2%, skim, oat, soy, or almond milk.
- 1 tablespoon Acid: White vinegar or fresh lemon juice. (Avoid balsamic or apple cider vinegar as their stronger flavors can interfere with your recipe).
Equipment:
- Liquid measuring cup
- Spoon for stirring
Step-by-Step Instructions:
Step 1: Add the Acid to Your Measuring Cup
Pour 1 tablespoon of your chosen acid – either white vinegar or fresh lemon juice – into a liquid measuring cup. Both work equally well, so use whatever you have on hand. For most baking, vinegar is undetectable, providing a pure tang. Lemon juice, however, can add a lovely faint citrus aroma, which is wonderful in items like lemon poppy seed muffins or even plain scones. Consider the recipe you're making when choosing.
Step 2: Pour in the Milk
Carefully add milk to the measuring cup until it reaches the 1-cup line. This means you'll be using just shy of a full cup of milk, allowing the acid to take up its rightful space. Pro Tip: If possible, use room temperature milk. It tends to curdle slightly faster and more evenly than cold milk straight from the fridge, though cold milk will still work perfectly well with a little more resting time.
Step 3: Stir Gently
Give the mixture a gentle stir with your spoon to thoroughly combine the acid and milk. You don't need to whisk it vigorously; a simple, slow stir is enough to ensure the acid is distributed throughout the milk. You might not see much change immediately, but the magic is just beginning to unfold beneath the surface.
Step 4: Let It Rest
Now, comes the waiting game – a mere 5 minutes! Set the measuring cup aside and let the mixture sit undisturbed. During this short period, the acid will begin to curdle the milk proteins, causing it to thicken slightly and develop small curds. The texture won't be as thick as traditional cultured buttermilk, but it will have the same crucial acidity. Once the 5 minutes are up, give it another quick stir, and your homemade buttermilk is ready to use in any recipe calling for the real deal.
Beyond the Basics: Pro Tips for Buttermilk Success
- Scaling Up or Down: The ratio is key! For every 1 cup of milk, use 1 tablespoon of acid. If your recipe calls for ½ cup of buttermilk, simply use ½ tablespoon of acid and fill the rest of the ½ cup measuring line with milk.
- Troubleshooting: If your milk doesn't appear to curdle much after 5 minutes, especially with plant-based milks or very fresh dairy milk, don't worry! The chemical reaction (the change in pH) has still occurred. The visual curdling is just a side effect, not the primary goal. As long as you used the correct ratio, your homemade buttermilk will perform its role in your recipe.
- Best Uses: This homemade buttermilk substitute truly shines in recipes where its acidity and leavening properties are crucial. Think light-as-air pancakes and waffles, fluffy muffins, tender quick breads, tangy ranch dressing, or the moistest fried chicken marinades.
- Storage: Unlike store-bought buttermilk, this homemade version is best used immediately. Since it's a quick hack designed for on-demand use, there's no need to make extra and store it. Simply whip up a fresh batch whenever a recipe calls for it.
Conclusion
No longer will you face the dilemma of an unbaked recipe due to a missing ingredient. This simple, two-ingredient kitchen tip how to make buttermilk is a game-changer, empowering you to create delicious, perfectly textured baked goods anytime the craving strikes. It's cost-effective, prevents waste, and offers incredible versatility, working with nearly any milk you have on hand. So, the next time your recipe calls for buttermilk, bypass the grocery run, head to your pantry, and unlock a world of fluffy, tender, and perfectly tangy bakes with this indispensable kitchen hack!
