Ever found yourself halfway through a beloved recipe, only to discover your buttermilk carton is empty? It’s a common scenario for home bakers and cooks alike. The good news is, you don’t need to drop everything for a last-minute grocery run. We’re about to share a game-changing kitchen tip how to make buttermilk right in your own home, using just two ingredients you likely already possess. This simple trick takes less than 5 minutes and delivers a perfect buttermilk substitute every time, saving you hassle, money, and preventing recipe disasters.
Why Buttermilk is a Kitchen Superstar
Buttermilk isn't just a fancy name; it's a culinary powerhouse that plays a crucial role in many recipes, transforming good dishes into great ones. Its unique properties are why bakers consistently reach for it:
- Unrivaled Tenderness: The gentle acidity in buttermilk breaks down gluten, resulting in incredibly tender baked goods, from flaky biscuits to moist cakes.
- Pillowy Fluffiness: When buttermilk’s acid meets baking soda, a chemical reaction occurs, producing carbon dioxide bubbles. These tiny bubbles are what give pancakes their cloud-like texture and muffins their airy rise.
- Signature Tang: Beyond texture, buttermilk imparts a subtle, tangy flavor that adds depth and complexity to both sweet and savory dishes, like creamy salad dressings or crispy fried chicken marinades.
While traditional buttermilk was once the byproduct of churning butter (hence the name!), today's store-bought version is typically cultured milk, meaning it has added bacterial cultures for that distinctive tang and thickness. Our homemade solution cleverly bypasses the need for cultures, mimicking the acidic environment that gives buttermilk its magic.
The 2-Ingredient Buttermilk Hack: Your Essential Toolkit
This budget-friendly 2-ingredient buttermilk hack is incredibly simple. You only need two items to create your DIY buttermilk substitute. The beauty of this method lies in its practicality: you can make precisely the amount you need, eliminating waste and keeping your grocery bill in check.
What You'll Need:
- Milk: 1 cup (or the amount your recipe calls for).
- Type: This is where flexibility shines! Whole milk, 2%, 1%, skim, or even non-dairy alternatives like oat milk, soy milk, or almond milk will work beautifully. Choose what you have on hand or what best suits your dietary preferences.
- Temperature: While not strictly necessary, using milk closer to room temperature can help the curdling process happen a little faster and more evenly than cold milk straight from the fridge.
- Acid: 1 tablespoon of white vinegar or fresh lemon juice.
- White Vinegar: This is a fantastic, neutral choice that won't impart any noticeable flavor to your finished dish. It's often readily available in most pantries.
- Fresh Lemon Juice: If you prefer a subtle citrus note, especially in muffins, quick breads, or certain desserts, fresh lemon juice is an excellent alternative. Bottled lemon juice also works in a pinch.
Equipment:
- A liquid measuring cup (ideally 1-cup capacity or larger)
- A spoon for stirring
Step-by-Step Guide to DIY Buttermilk in 5 Minutes
Ready to transform ordinary milk into extraordinary buttermilk? Follow these four simple steps, and you’ll have your substitute ready in mere moments.
Step 1: Measure Your Acid
Begin by pouring 1 tablespoon of your chosen acid—either white vinegar or fresh lemon juice—into your liquid measuring cup. If your recipe calls for more or less than a cup of buttermilk, remember the golden ratio: 1 tablespoon of acid per 1 cup of milk.
Pro Tip: While both vinegar and lemon juice are effective, consider the recipe. For delicate flavors or savory dishes, vinegar offers a completely neutral profile. For a brighter, slightly zesty baked good, lemon juice can be a delightful addition.
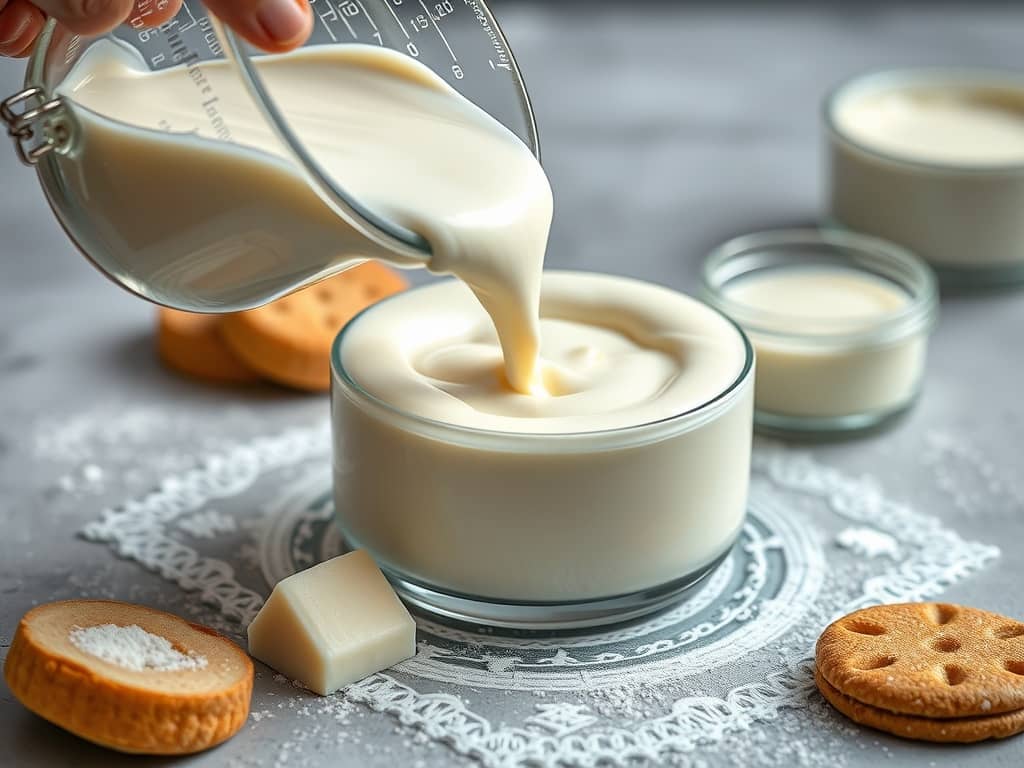
Step 2: Add the Milk
Carefully pour your milk into the measuring cup until it reaches the 1-cup line. Because the acid already occupies some space, you’ll be using slightly less than a full cup of milk for a total volume of 1 cup of buttermilk substitute. If you're using room temperature milk, you might notice the curdling process begin almost immediately – that's the science in action!
Step 3: Stir Gently
Give the mixture a gentle stir with your spoon. There’s no need for vigorous whisking; a light stir is all it takes to ensure the acid and milk are thoroughly combined. At this stage, you might already start to see tiny curds forming, especially if your milk was at room temperature. Don't be alarmed; this is exactly what we want!
Step 4: The 5-Minute Rest
Now comes the easiest part: patience! Let the mixture sit undisturbed for 5 minutes. During this brief resting period, the acid goes to work, reacting with the milk proteins. You’ll observe the milk beginning to thicken slightly and small curds forming, giving it that characteristic buttermilk texture and appearance. By creating this acidic environment, you effectively mimic the pH level of traditional buttermilk, ensuring it will react perfectly with leavening agents like baking soda in your recipes.
Once 5 minutes have passed, give it another quick stir, and your homemade buttermilk is ready to use just like the store-bought version! No Buttermilk? Transform Any Milk in Minutes for Baking Success with this simple method.
Beyond the Basics: Tips, Tricks, and Troubleshooting for Your DIY Buttermilk
Mastering this simple kitchen tip how to make buttermilk opens up a world of baking possibilities. Here are some extra insights to ensure your success every time:
Scaling Your Buttermilk
The 1 tablespoon of acid per 1 cup of milk ratio is your golden rule. Need half a cup? Use ½ tablespoon of acid and fill to the ½-cup line with milk. Need 2 cups? Use 2 tablespoons of acid and fill to the 2-cup line. This scalability is one of the biggest advantages of making your own, preventing waste and ensuring you always have the right amount.
The Science Behind the Magic
The beauty of this hack lies in simple chemistry. When acid (lemon juice or vinegar) is introduced to milk, it lowers the pH, causing the casein proteins in the milk to coagulate or "curdle." This slight curdling creates the thicker texture and tangy flavor we associate with buttermilk. More importantly, this acidic environment is crucial for reacting with alkaline leavening agents like baking soda, producing carbon dioxide gas that helps baked goods rise, making them light and airy.
Can I Use Other Acids?
While white vinegar and lemon juice are the go-to choices due to their neutral or complementary flavors, other acids like lime juice could technically work. However, be mindful of the flavor impact. Lime juice might be too dominant for some recipes. Avoid using fruit juices high in sugar, as they won't provide the pure acidity needed for curdling.
Troubleshooting Common Issues
- Not Curdling Enough? If after 5 minutes your milk isn't noticeably thicker or curdled, a few factors might be at play:
- Weak Acid: Your lemon juice might not be fresh, or your vinegar might be very old. Try adding another half teaspoon of acid.
- Too Cold: Cold milk curdles slower. Let it sit for an extra 5-10 minutes, or gently warm your milk slightly (not hot!) before adding the acid.
- Ultra-Filtered Milk: Some milk, especially ultra-pasteurized or lactose-free varieties, might take longer or curdle less visibly due to altered protein structures. It will still generally work in recipes, even if the visual change isn't dramatic.
- What if I Don't Have Baking Soda? Buttermilk reacts with baking soda. If your recipe calls for baking powder, remember that baking powder already contains an acid, so the extra acidity of buttermilk isn't strictly necessary for leavening, but it still contributes to flavor and tenderness. Most recipes are balanced to use buttermilk with baking soda.
Freshness and Storage
Homemade buttermilk is best used immediately for optimal freshness and potency. While you could technically store any leftover in the fridge for a day or two, it’s so quick to make that preparing it fresh on demand is always the recommended approach.
Unlocking Culinary Potential with Your Homemade Buttermilk
Now that you're an expert in this essential kitchen tip how to make buttermilk, imagine the possibilities! Fluffier pancakes, tenderer scones, moister muffins, and perfectly brined fried chicken are all within your grasp. This simple hack liberates you from specific grocery lists, empowering you to bake and cook with confidence and creativity. It’s a testament to how easily a small scientific understanding can translate into significant culinary gains, making your kitchen more efficient and your dishes more delicious.
Never again will you face the dilemma of a forgotten ingredient. With this quick and easy solution, you have the power to create that vital buttermilk tang and texture whenever inspiration strikes. Embrace this simple two-ingredient solution and elevate your home cooking and baking to new, delicious heights!
